
When working with CAD software, Image Quality in BricsCAD are lower in some cases especially for industries like solar design, GIS, and architecture. Where high-quality visuals impact accuracy. Some BricsCAD users have reported a noticeable difference in image resolution when attaching images compared to AutoCAD. This blog explores why this happens and the best practices for handling images in BricsCAD.
BricsCAD Image Quality vs. AutoCAD: What’s the Issue?
A recent support inquiry raised the following concerns:
- Lower image resolution when attaching images in BricsCAD compared to AutoCAD.
- Differences in how images are processed when copied from Windows Explorer vs. using standard image attachment methods.
- The potential impact of visual styles on image rendering quality.
- Whether the image format (JPG, TIFF, GeoTIFF, etc.) affects the final display quality.
Bricsys Support acknowledged the concern and confirmed that this behavior is already noted in their development system. They also clarified that BricsCAD and AutoCAD handle pasted images differently:
- AutoCAD treats copied images as Raster Images.
- BricsCAD displays them as OLE (Object Linking and Embedding) frames, which may affect quality.
Why Does This Happen?
The primary difference comes from how the two software applications manage image insertion:
- Copy-Pasting from Windows Explorer:
- In AutoCAD, pasted images are interpreted as raster images.
- In BricsCAD, pasted images appear as OLE objects, which might lead to lower clarity.
- Using IMAGEATTACH vs. INSERTOBJ:
- IMAGEATTACH Command: Recommended for inserting raster images directly into BricsCAD. This method ensures better quality and control over image properties.
- INSERTOBJ Command (OLE Method): This method inserts images via a Paintbrush Object, which may compress or alter resolution.
Recommended Workarounds for Better Image Quality in BricsCAD
To maintain the best image quality in BricsCAD, consider these methods:
✅ Best Practice: Use IMAGEATTACH for Raster Images
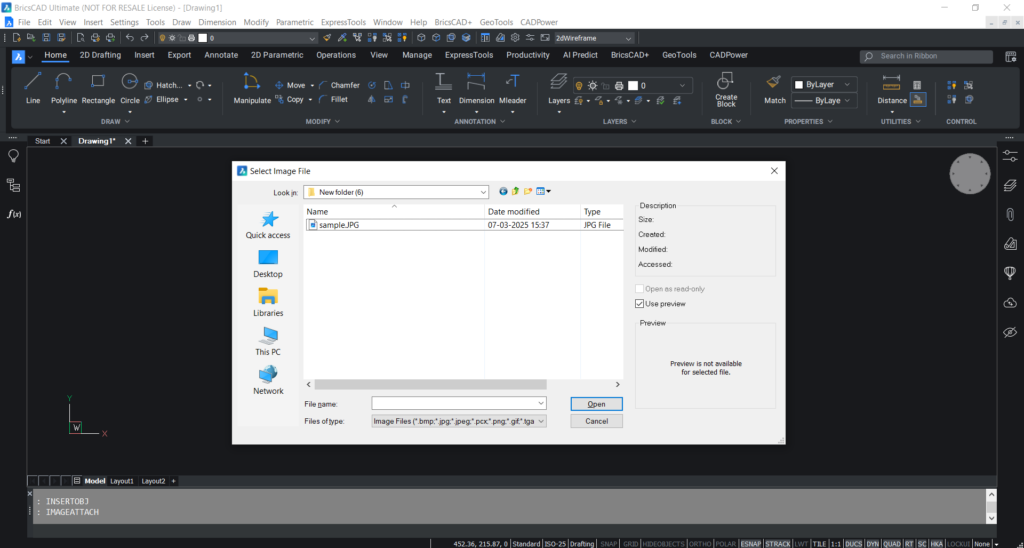
Instead of copy-pasting images from Windows Explorer, use the IMAGEATTACH command:
- Type
IMAGEATTACHin the command line. - Select the image file (JPG, PNG, TIFF, GeoTIFF, etc.).
- Adjust scaling and insertion point.
This ensures that BricsCAD treats the image as a raster file rather than an embedded OLE object.
✅ Alternative: Insert as OLE Frame Using INSERTOBJ

If you need to use OLE for specific workflows:
- Type
INSERTOBJin the command line. - Select “Paintbrush Picture” > OK.
- Paint will open; go to Paste > Import to select an image.
- Close Paint, and the image will appear in the drawing.
This method is useful for quick insertions but might not maintain the highest resolution.
✅ Check Visual Styles & Display Settings
Some visual styles or graphic settings can impact image clarity:
- Go to Settings > Visual Styles and experiment with different modes (e.g., 2D Wireframe, Realistic, etc.).
- Ensure that High-Quality Graphics Mode is enabled.
- Check Hardware Acceleration settings.
Conclusion
While BricsCAD and AutoCAD handle image attachments differently, using the IMAGEATTACH command for raster images is the best way to maintain high resolution. If you’re experiencing image quality issues, try adjusting the visual style or ensuring that your images are in a compatible format. Bricsys is aware of this concern, and improvements may come in future updates.